

If you're here, I presume you're tired of typing the same email addresses over and over again and are looking for a way to streamline the sending of emails to specific groups of people such as your colleagues, family, or friends.
Well, you're at the right place! In this short post, we'll cover two topics. First, we'll create a distribution list in Google Workspace and see how you can send an email to the latter list from Gmail. This is an easy way to create a group in Gmail. Then, we'll generate an email address for this very group and ensure you get a dedicated space for conversations with its members in your Gmail inbox.
To illustrate the coming step-by-step instructions, we'll suppose Yoda wishes to create a group for all the Jedis (yes... we're fans of Star Wars at Gmelius).
Want to explore our collaborative inboxes in Gmail? Try Gmelius for free!
How to Create a Distribution List in Gmail
A distribution list in Gmail is a single email address for multiple contacts so that you can send them emails in one go, rather than inserting every email id separately.
The process of creating a distribution list in Gmail is straightforward and requires just three steps.
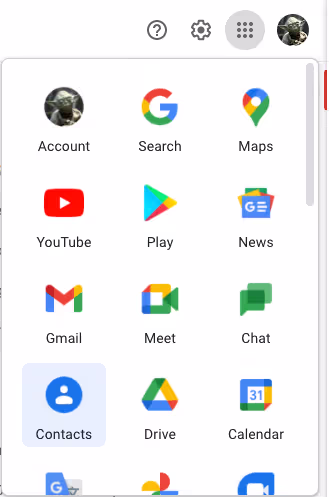
Step 1: Open Google Contacts
Yoda needs to go to his list of contacts by opening Google Contacts. From Gmail, Google Contacts can be accessed by clicking the dots, on the top-right menu, and then choosing “Contacts” as shown below.
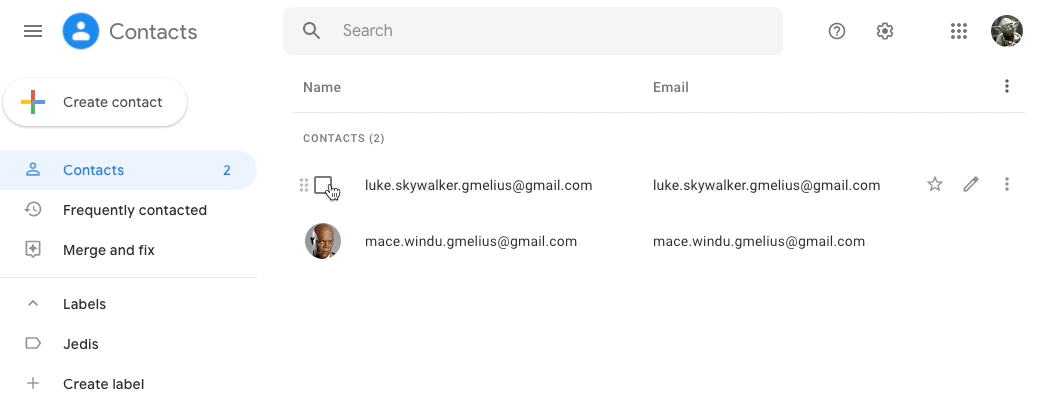
Step 2: Create a Google Contact label
Once in Google Contacts, the second step is to create a label for the future distribution list, e.g., "Team", "Family", "Friends". In our case, Yoda creates a label "Jedis". Once the label created, he selects all the Jedis/contacts he wishes to add to the new label.
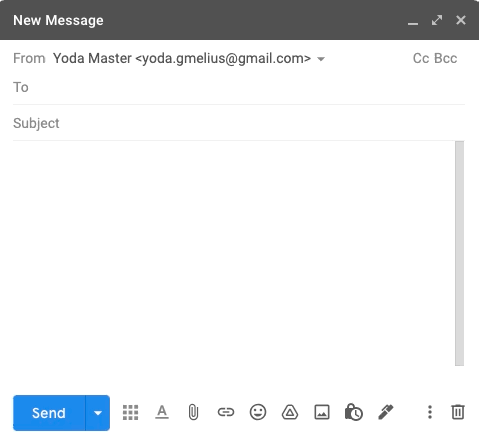
Step 3: Use the new list in Gmail
The final step is to go back to Gmail, and start typing the group's name you chose as a label. All the emails part of the label (distribution list) will then be populated and instantly appear in the Gmail compose window. For our good old friend Yoda, this will look like this:
And voilà! Now, feel free to repeat the same steps as many times as needed if you wish to create additional distribution lists.
Bear in mind that distribution lists are NOT the same as Google Group email. Distribution lists just collate multiple IDs under one id so that multiple people can be reached at the same time. A Google Group email is more powerful, allowing team members to collaborate in one email inbox, reply under the group email ID, share a calendar and more.
Gmelius adds even more features to group email, such as @mentions in notes, automated actions, project management through Kanban boards, and AI-generated shared drafts. Here is how to set up a group email in Gmail and start using these advanced functionalities.
Create a Group Email in Gmail
We made it easy to send emails to specific groups of people in Gmail. Now, we'll ensure to have a specific space in the inbox that regroups all the incoming conversations we have with our newly created list. The process is again made of three steps.
Step 1: Create a Google Group
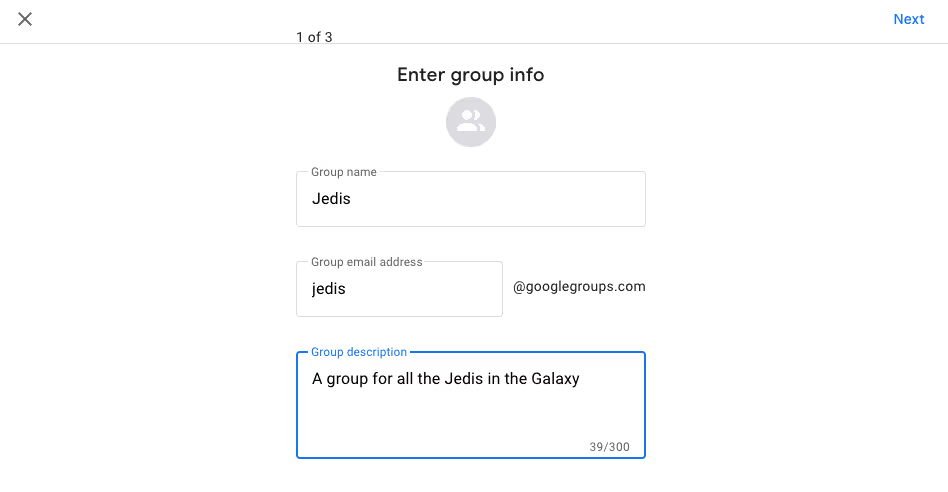
This time, Yoda needs to access his Google Groups. Once there, the next step is to create a Google Group for his Jedis. There are three screens. On the first screen, it's important to make sure that the group email address is simple to remember.
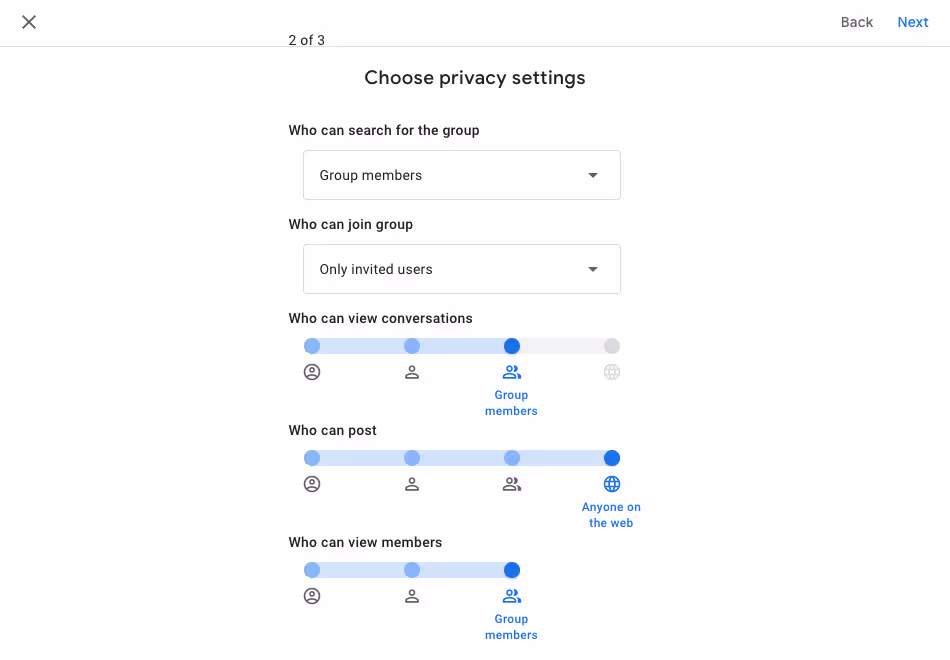
On the second screen, the key configuration point is to have "Who can post" set to "Anyone on the web" as shown below:
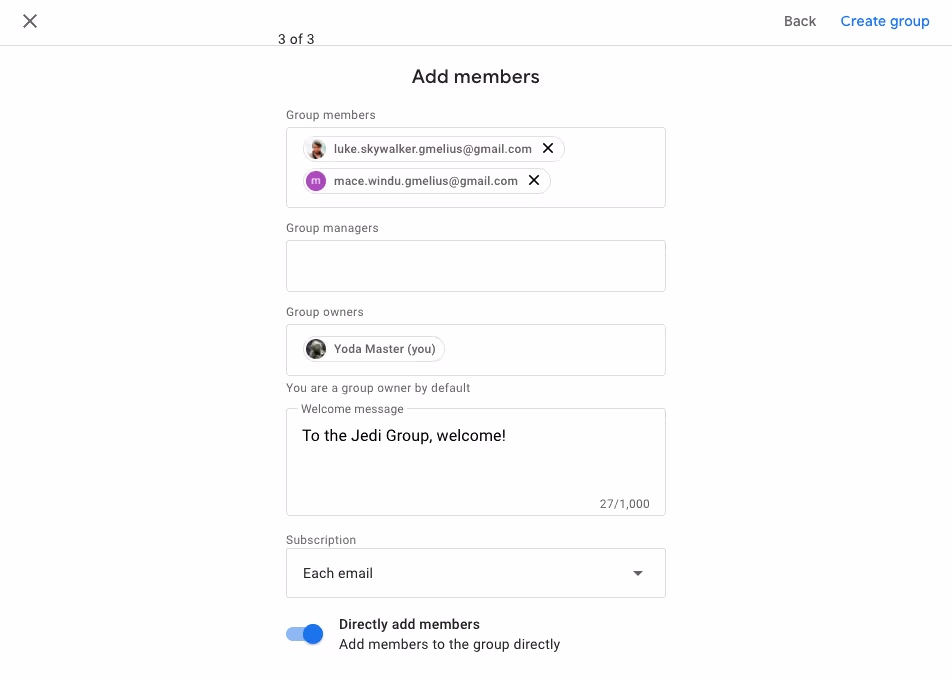
On the third and final screen, we just have to add all the members of the group.
Done, the Google Group is configured and live. Now, we need to convert it into a Gmail shared inbox.
Step 2: Create a shared inbox
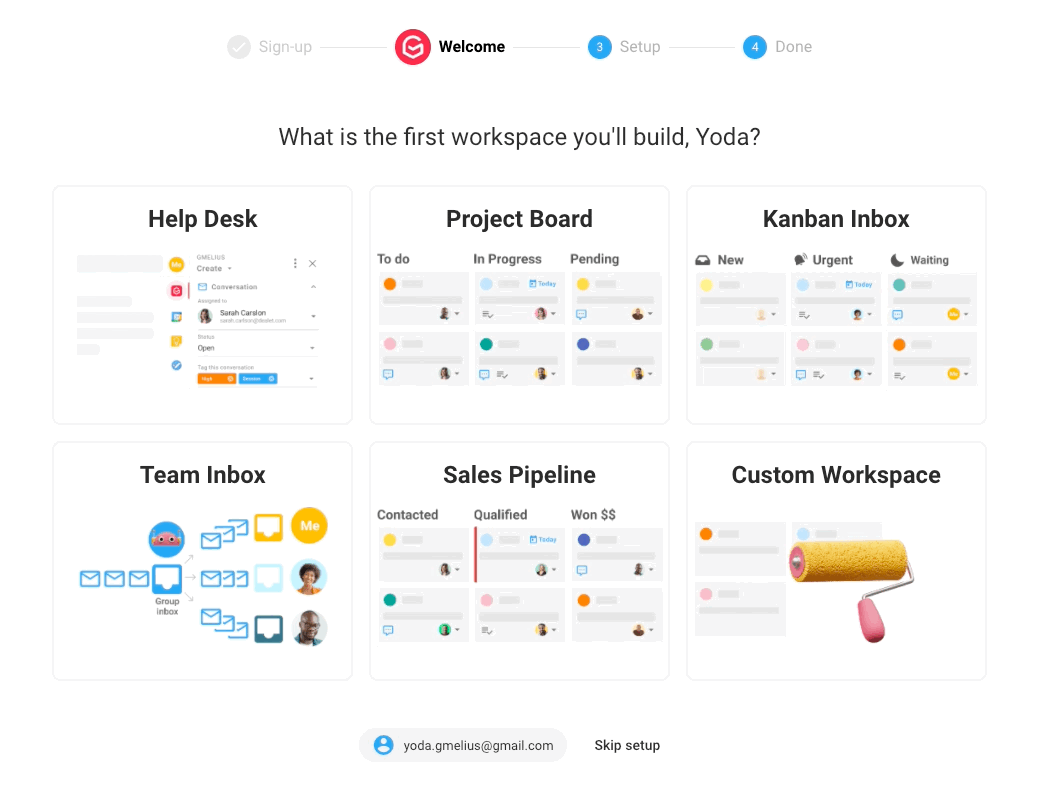
To do so, head to https://gmelius.com/download/extension and install the Gmelius extension for your browser. Once signed up, you'll see the Gmelius onboarding. We want to create a "Team Inbox" from a Google Group, and we so enter the email address of our newly created group when invited to do so. The steps are detailed below:
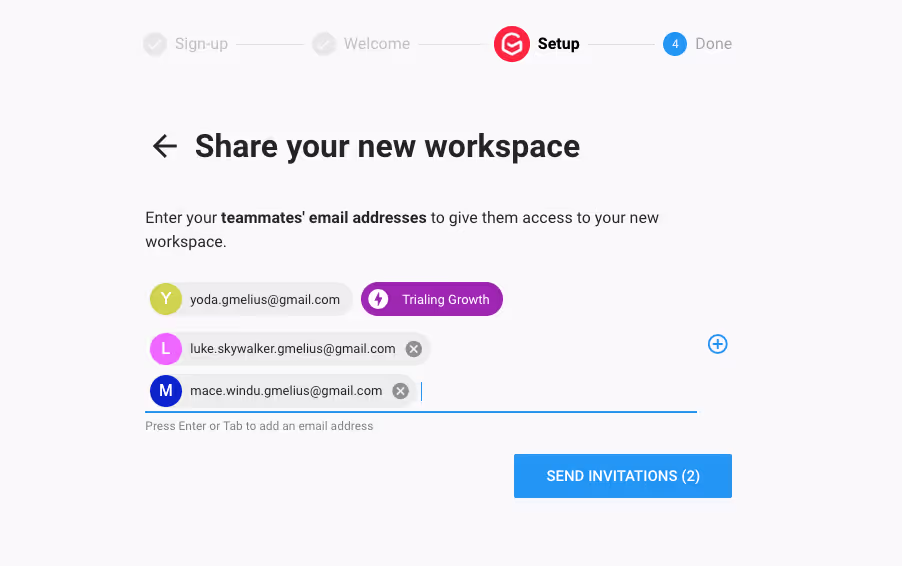
Gmelius will then convert the Google Group into a Gmail shared inbox. The last step of the configuration is to invite the same members of your existing Google Group to the Gmelius shared inbox.
Step 3: Reload Gmail
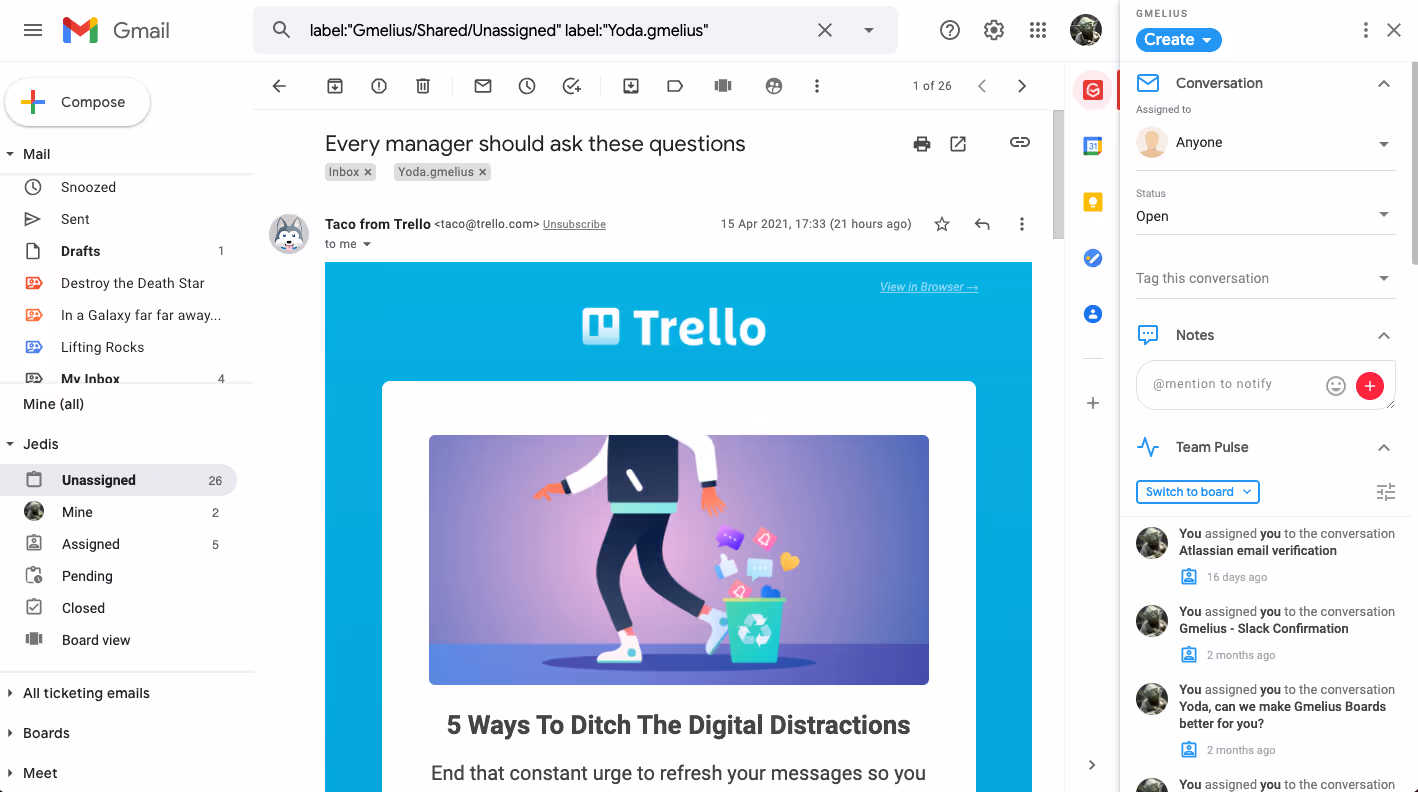
Finally, go back to Gmail. You'll see a new section for your Group on the left-side nav bar of your inbox where you'll be able to view, comment and delegate conversations between members of your group.
Interested in collaborative inboxes for Gmail? Check out Gmail Shared Inboxes to learn more.
Conclusion
Creating a group in Gmail is one of the easiest ways to simplify repetitive email tasks and keep communication organized. Whether you need a quick distribution list or a full-fledged shared inbox, Google Workspace gives you the flexibility to adapt as your needs evolve.
And if you're looking to turn your Google Group into a powerful collaboration hub, Gmelius can help you go further, with shared inboxes, AI assistants, email assignment, internal notes, and more, right inside Gmail.
Ready to upgrade your group emails? Try Gmelius for free today.
Frequently Asked Questions (FAQs) About Creating a Group in Gmail
1. What is the simplest way to create a group for sending emails in Gmail?
The simplest method is to create a "distribution list." This is done by going to Google Contacts, creating a new label (e.g., "Jedis"), and adding all the desired contacts to that label.
2. How do I send an email to the distribution list I just created?
Once your label is saved in Google Contacts, just go to Gmail, click "Compose," and start typing the name of the label (e.g., "Jedis") in the "To" field. All the contacts under that label will be added to the email automatically.
3. What is the main difference between a distribution list (contact label) and a Google Group?
A distribution list is just a shortcut for sending emails to multiple people at once. A Google Group creates a single group email address (like jedis@mycompany.com) and is much more powerful, allowing for a collaborative inbox, shared calendars, and more.
4. Can I reply as the group (e.g., from team@company.com) if I only use a distribution list?
No. A distribution list (contact label) will send the email from your personal address, and all recipients will see the full list of other email addresses. If you want to reply as the group, you need to create a Google Group.
5. When should I use a Google Group instead of a distribution list?
You should use a Google Group when you need a team to collaborate on conversations. If you want a dedicated inbox for a team (like support@ or sales@), want to reply from a single group alias, or need a shared space for all group-related messages, a Google Group is the right choice.
6. I'm setting up a Google Group. When should I set "Who can post" to "Anyone on the web"?
This setting is crucial for allowing people from outside your organization (like customers or partners) to send emails to your group address. If you set it to "Members only," your group will only be able to receive internal emails.
7. What does Gmelius add to a Google Group?
Gmelius converts a standard Google Group into a powerful, shared inbox right inside Gmail. It adds collaboration features that Google Groups lack, such as the ability to assign emails, leave internal notes for teammates (@mentions), track projects on Kanban boards, and use AI to draft replies.
8. Do I have to install anything to create a simple distribution list (contact label)?
No. Creating a distribution list (contact label) only requires you to use Google Contacts, which is already part of your Google Workspace or Gmail account.
9. Do my team members also need to install Gmelius to use the shared inbox?
Yes. To convert a Google Group into a shared inbox that the whole team can access and collaborate in, all members of the group will need to install the Gmelius extension and be invited to the shared inbox.
10. After I create a shared inbox with Gmelius, where will I see it?
After installing and setting up Gmelius, you just need to reload Gmail. You will see a new section for your group (e.g., "Jedis") in the left-side navigation panel of your Gmail inbox, separate from your personal emails.

.avif)
.avif)
.avif)
.avif)
.avif)